Lesson resources
Lesson plan - Blank
This is the full lesson planning template to help structure the video learning you want to do.
Lean canvas lesson plan - Lesson example.
A completed example of how the lesson plan looks filled out.
Creating good structure for a video lesson is the most important aspect to creating quality engaging video teaching. In many ways it’s more important than your gear, your presentations or your editing skills. Nailing this means better teaching with less work. NB: This is not a list of hacks. You’ll probably still need to practice a bunch and make all the classics mistakes.
Before jumping into structuring the video there are 2 things you want to have ready to go:
- The activity you want the students to do in order to cement the knowledge.
- A “finished” example of the activity — This will help immensely as you write your video as you won’t need to scrabble to find an example.
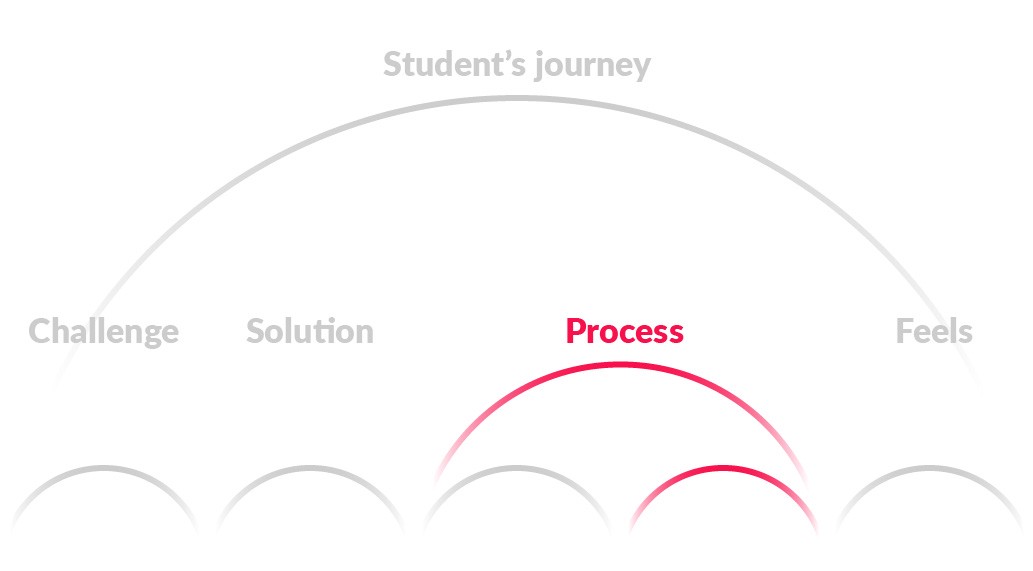
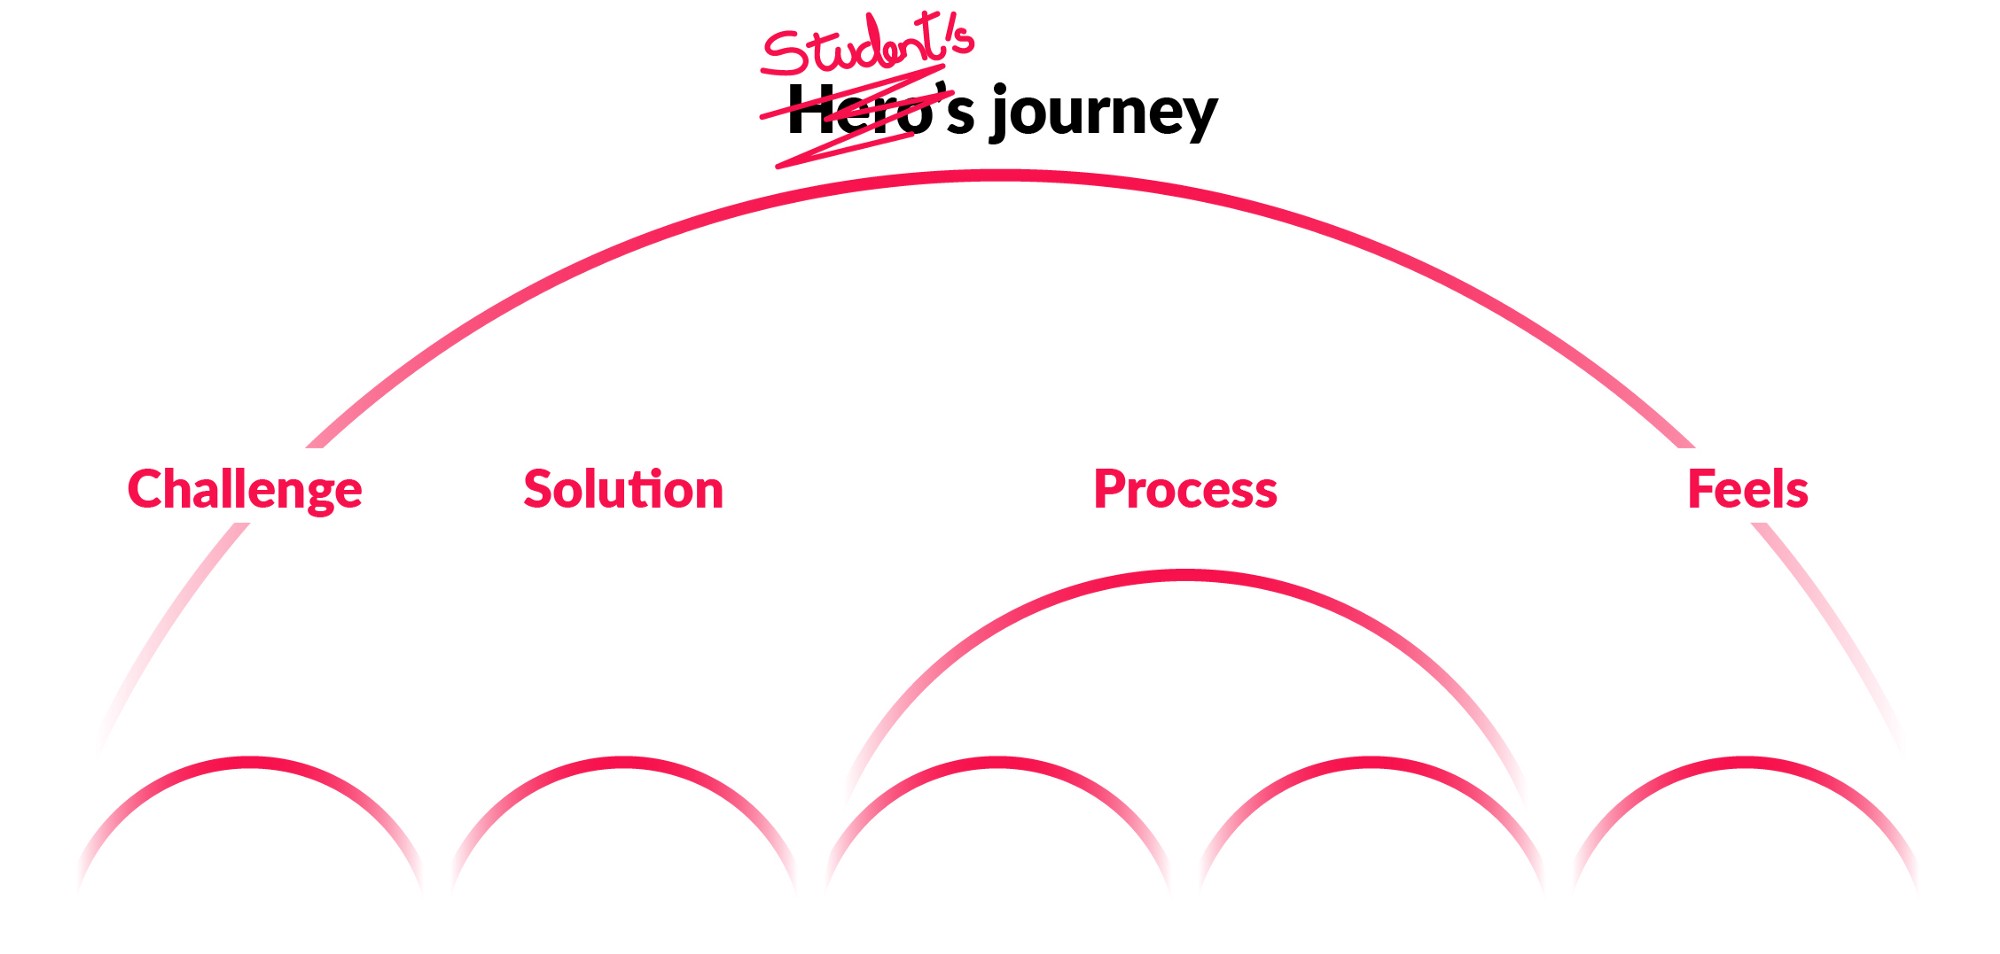
1 Challenge.
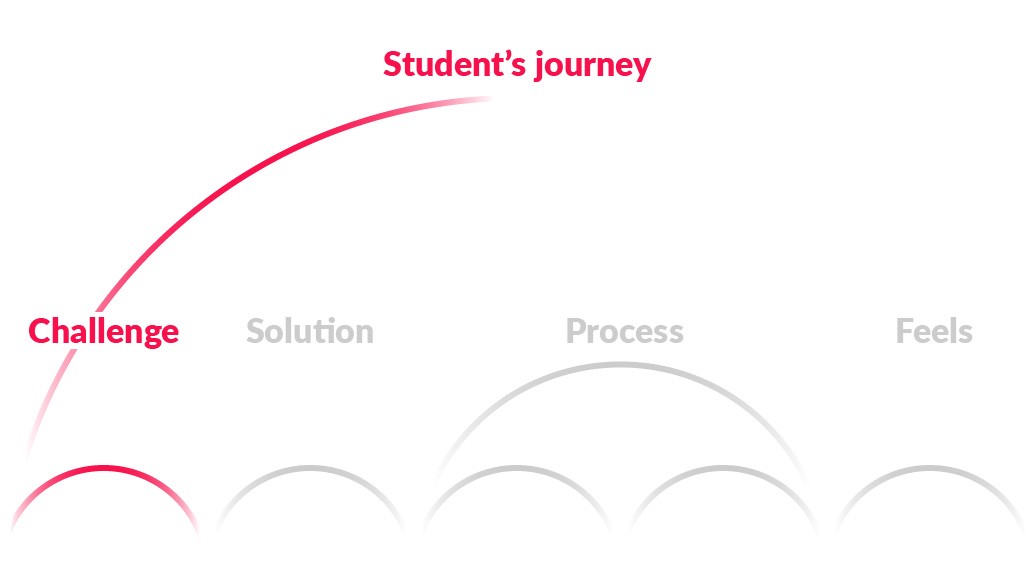
Here’s where we are going to start all our video lectures — What is the challenge faced by students. Tempting as it is to explain all their short comings to them, we actually want to talk about the challenge from their point of view.
Sentences like “People need to understand the important of X” won’t resonate because students don’t know what they don’t know. Try for sentences like “When I started doing this, I always felt overwhelmed.”
We want to be laying out the situation and challenge for the student using their language if possible, and certainly speaking from a place of empathy.
2 Solution.
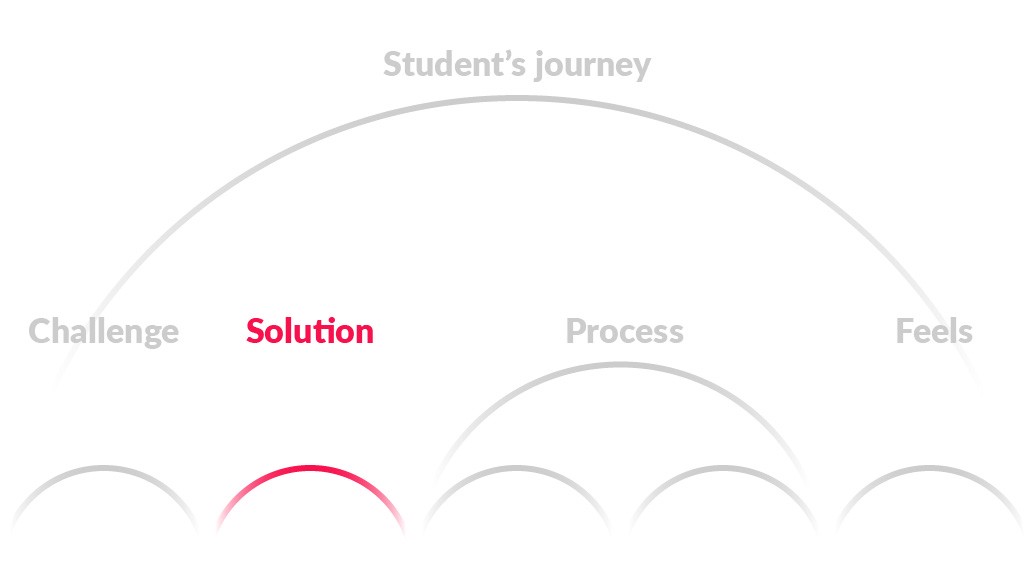
Next we want to let the students know how we’re going to solve their problem.
How we’ll tackle their challenge
In broad strokes; what are you going to teach the students that will solve the challenge you just outlined for them? It can stay pretty high level and general, as we’ll be digging into the specifics next. Right now, its about setting up the expectations for the student that they’re going have their issues solved by this video.
Resources
What the student requires to do this activity properly. These can be supplies or pre-requisites.
“in this video we are doing X”
This is the only ‘line’ I’m giving you to say exactly. We want to be explicate for the students so they know that they’re in the right place.
“In this video we’re going to fill out all the questions on page 10” Great, now I (the student) know I’m in the right place.
Side note: I often see videos where people start with this. Their heart is in the right place, they want to get to the point quickly. Personally I feel its more useful after you’ve laid out some of the more squishy stuff first.
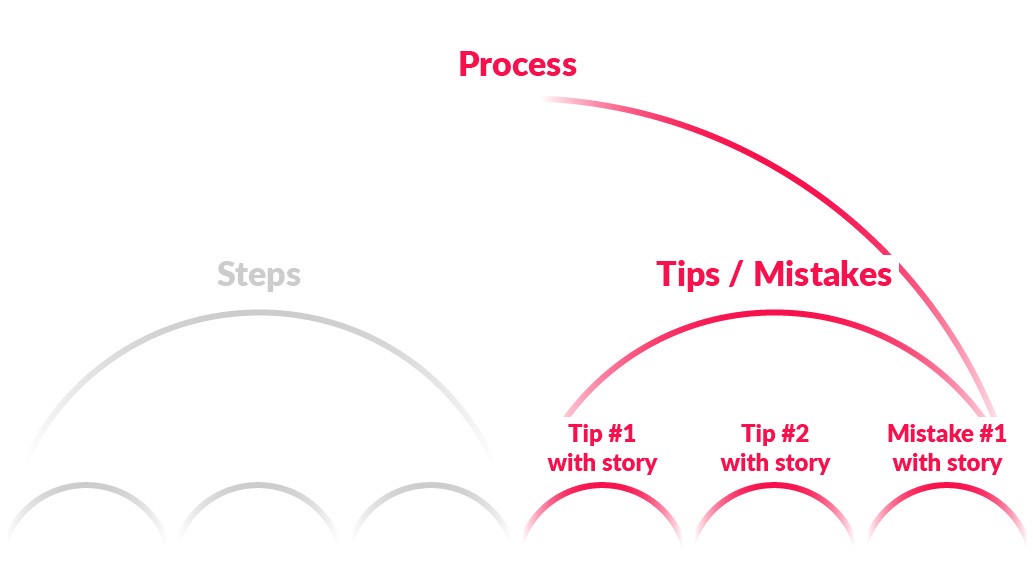
3 Steps.
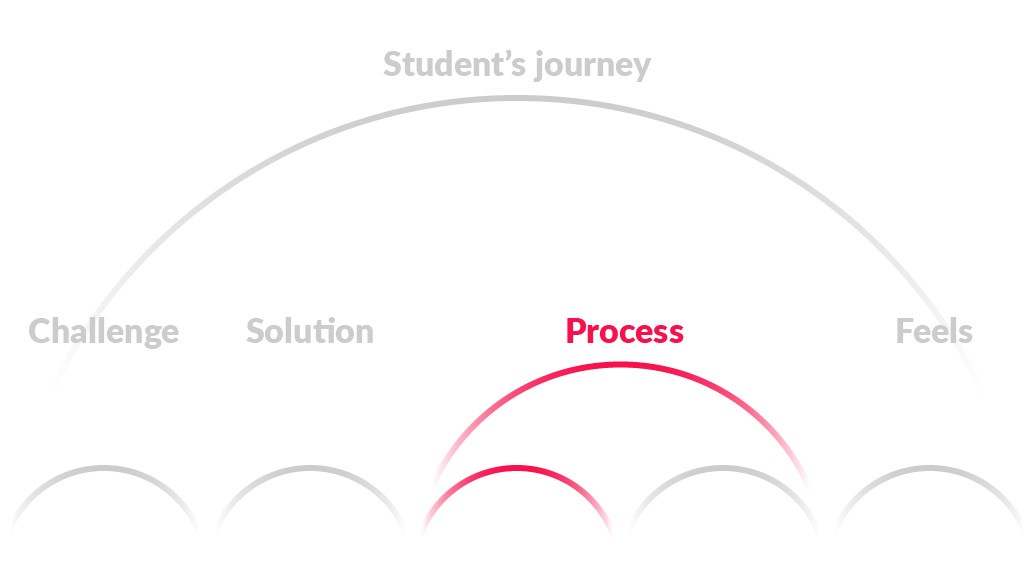
The meat and potatoes of the video. Here’s where we explain to the student how to do “The Thing.”
Depending on what what you’re teaching it could be a ‘first this, then this, finally this’ format, or a ‘option 1, option 2, option 3’ format, or whatever works best for your thing.
We’re using a mini-version of this whole structure, repeated for each step of the activity:
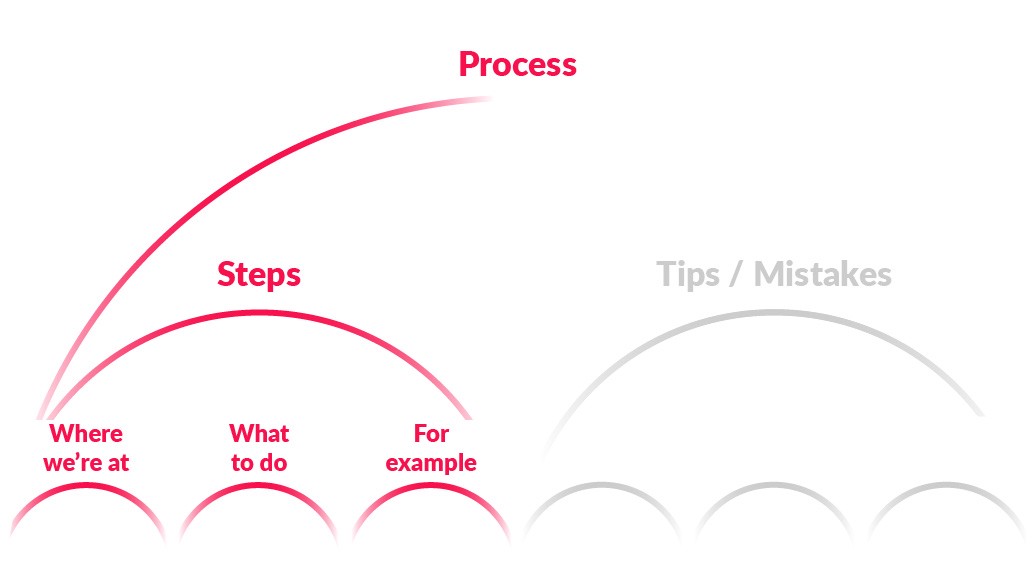
- Where the student is at
- What to do about it
- An example to make it concrete
- How to feel
Repeat this process for each step of the activity, focusing on the the what.
This part of the video has a real sense of energy: it’s about teaching the thing everyone came for.
4 Tips & mistakes.
Once they know what to do, we can start guiding them on how to do it well. This is one of the areas that pre-recorded video teaching departs quite dramatically from in person live teaching. When you’re in the room its very easy to help people along where ever they’re at, where as in a video that’s impossible. Instead we just need to be pretty explicate about what we want the students to do first, followed up by what the tips and tricks will help students excel. These can be tips or mistakes for the process as a whole, or for a specific step in the process. Just repeat as needed.
I use these sort of sentences to prompt the teachers I work with:
- Make sure you…
- It’s always better to…
- Often people will do this…
- Make sure you don’t…
Metaphors
You’ll have some go to images you like to use to explain to students what their trying to understand. Metaphors can be great, but a word of caution: if you’re students aren’t familiar with the situation you’re describing it can be worse than useless: It can create more confusion.
Personal stories/experiences
Bringing in some real stories around this topic is a favourite way of mine to engage students. It helps empathise with where the student is at by thinking back to when you struggled with the same issues. You can also use stories of past students (with permission of course) here. The golden rule is to be specific: This makes it feel real, and more interesting.
Tying your metaphors and stories directly to the tips and mistakes you’re explaining will help the points land and stick in the mind of the students. It can also add a lot of nuance and colour to what you’re teaching. Usually I find it best to just line up the tips / mistakes one at a time, and go through them, or maybe find thematic ties to group them into a larger segment.
5 Feels.

Alright, its time to bring this video home. There are a few key elements that I feel will leave the student feeling confident to tackle the activity themselves.
How long should this take?
This is less about an exact number and more a guide for the student to know when they should feel done. For example the same task completed in 10 minutes or 10 days will feel very different. you might have a task that is best done quickly to get it out of the way so it can be tested in the real world, where as a 10 day task could be instructions for the student to really take the time to reflect and ponder what is asked of them.
Here’s one we prepared earlier
Show them the finished cake! Let them see what they’re aiming towards. If you’ve got some examples online to link them to (always recommended), now is a good place to mention them.
Tying it back to the beginning.
We want to create a sense of narrative completeness for the students and the journey they’ve been on for this activity (no matter how small)
I love to re-iterate why this activity was important. Remind them of the challenge they were facing and how this helps to solve it for them.
Give students a nice call to action on how to get started. Make sure the focus stays on how to do the activity, rather than just the theory.
Encouraging teachers to talk about how students feel when they’ve finished the activity shows more empathy. If the activity makes people re-consider ideas and values they’ve held closely and most students feel a bit lost; talk about that. Reassure them it’s ok to feel like this.
Finally, finish off with saying what they’re empowered to do now: What new ability has this activity unlocked for them?
6 What’s next?
You don’t need much to get yourself started:
- This video about some really basic lighting.
- Sound is more important than anything else, so grab a good mic.
- Edit on whatever you got that’s free. (You can always get something better later)
Remember: Video teaching, no matter how well structured can’t replace the power of a teacher meeting the student where they’re at and helping them puzzle it out together.
Having well structured videos means you can spend less time explaining, and more time helping.